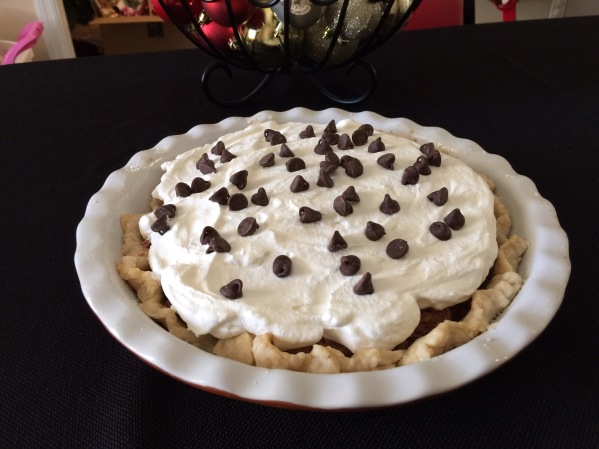
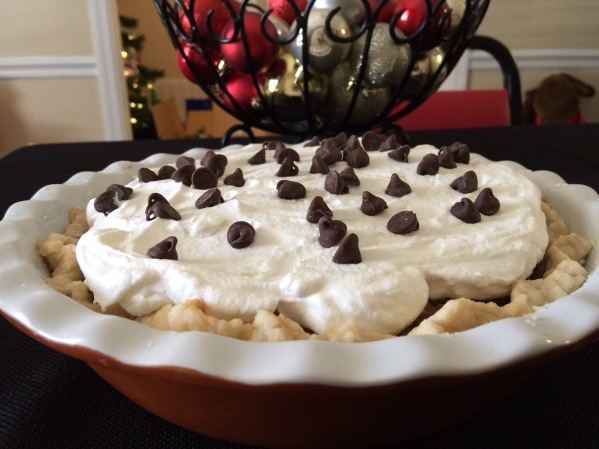
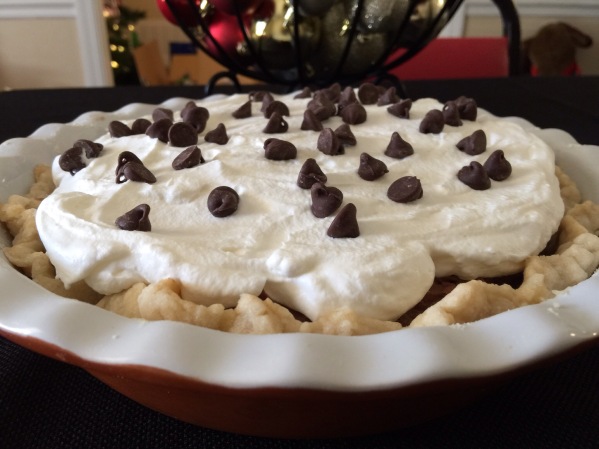
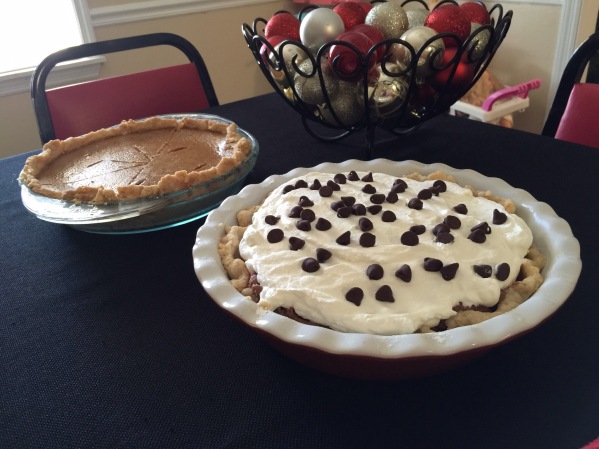
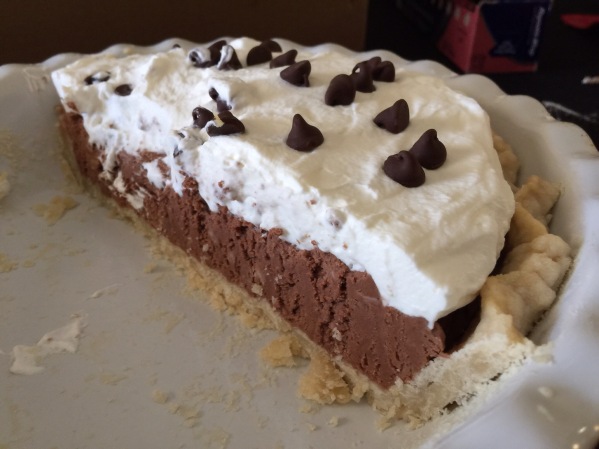
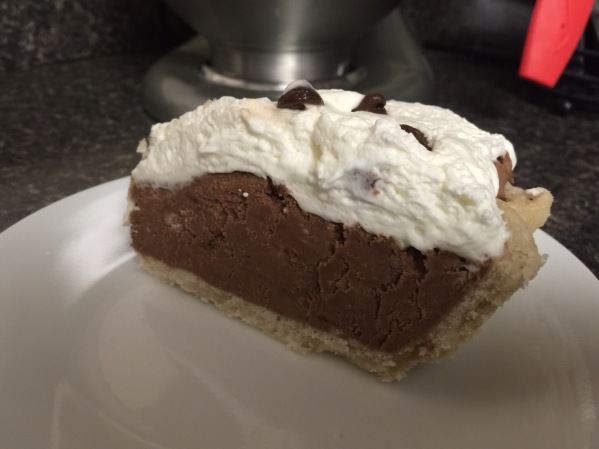
French Silk Chocolate Pie

My husband isn’t a big pumpkin pie fan so I usually make an alternative pie for him on holidays. I usually go with my chocolate mousse pie (recipe on here) that he loves, but this year decided to try something a little different. As a general rule of thumb, and especially while pregnant, I don’t like to make things with raw eggs so when I started searching French Silk pie recipes I was a bit dismayed to find that most of them did in fact contain raw eggs. I finally found a recipe without eggs that still sounded like a traditional French Silk, so I gave it a try. I. So glad that I did too because hubby said this was his new favorite pie and he even liked it better than my chocolate mousse pie! Score! 🙂

Ingredients:
– One (9-inch) pre-baked pie crust, use my favorite pie crust recipe (on here) and bake it for about 15-20 minutes at 375F. Let cool completely.
– 2 sticks butter (1 cup) softened
– 3 cups powdered sugar
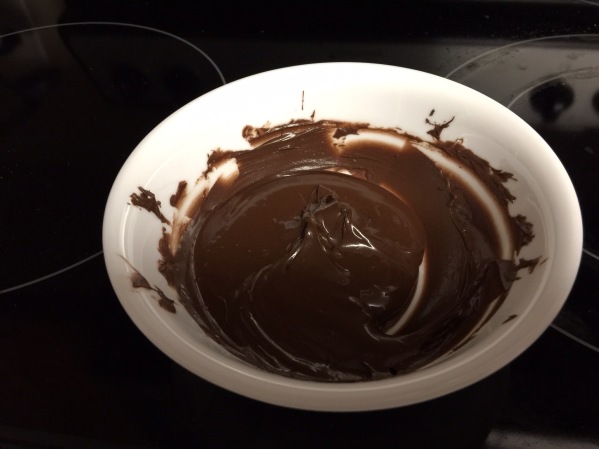
– 1 cup semisweet chocolate chips, melted
– 2 tsp. espresso powder, I couldn’t find it at the store so I just used I stand coffee
– 4 tsp. vanilla extract
– 4 Tbsp. sour cream
– homemade whipped cream

Directions:

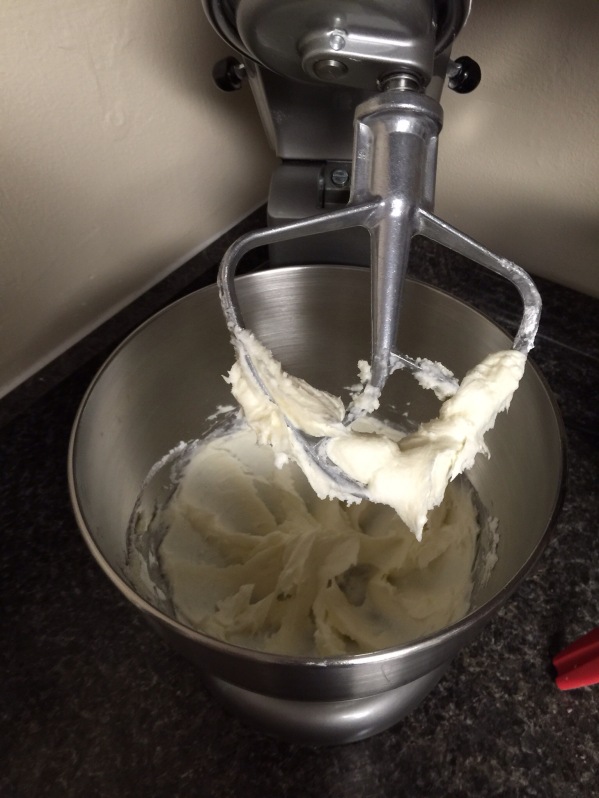
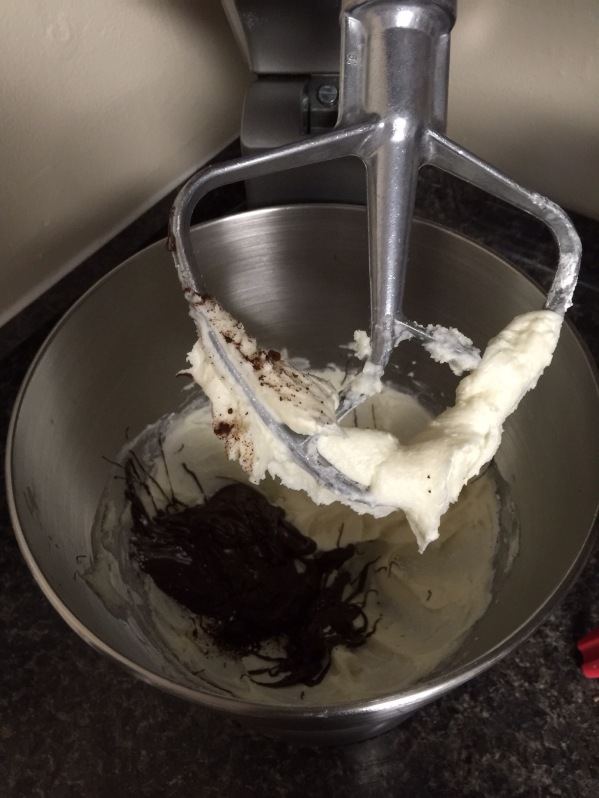
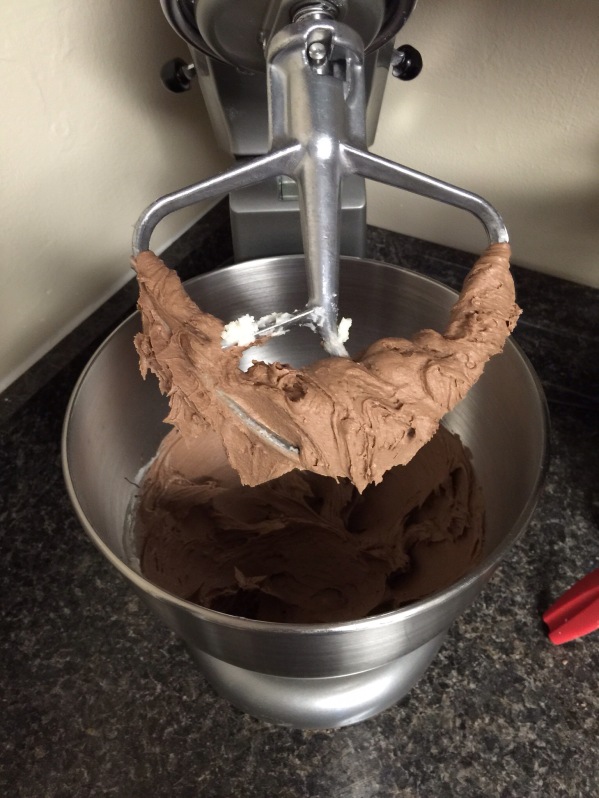
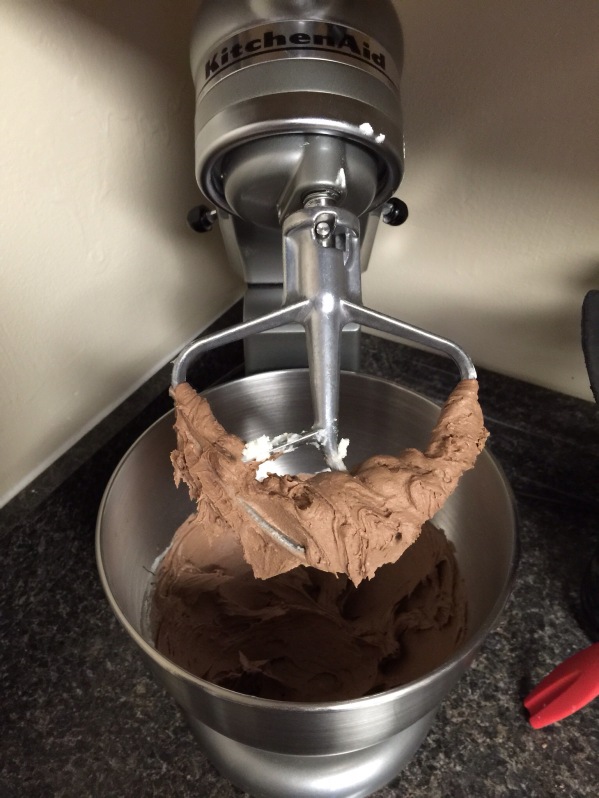
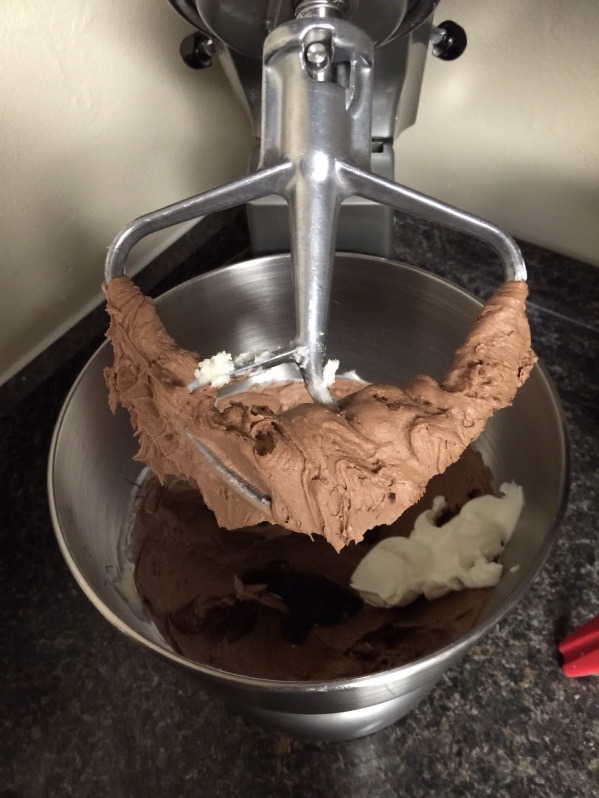
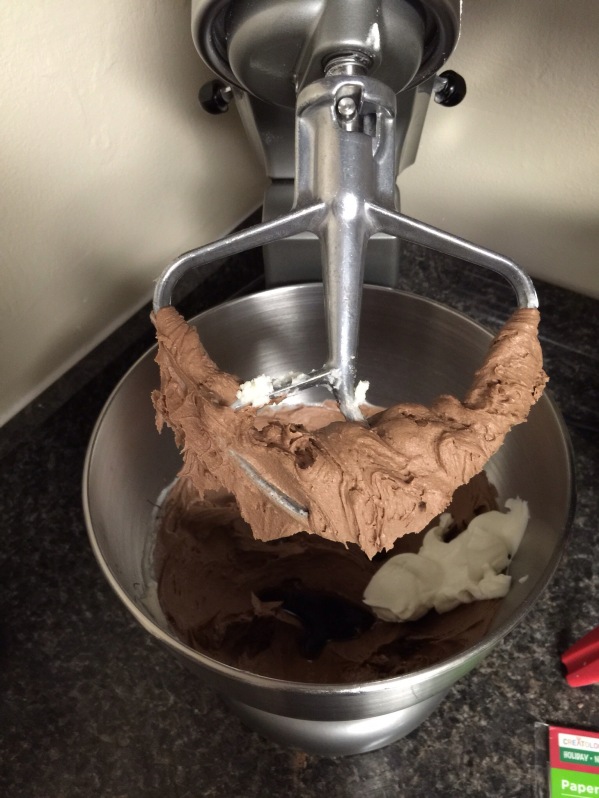
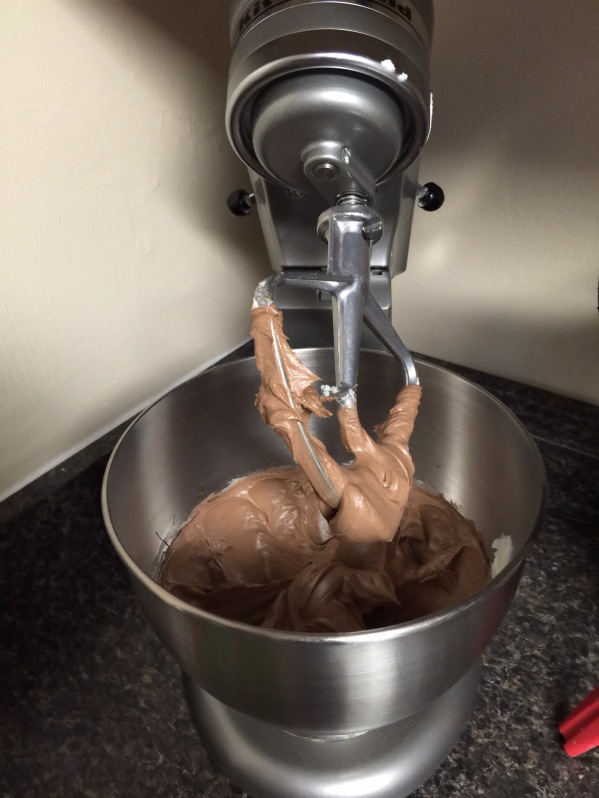
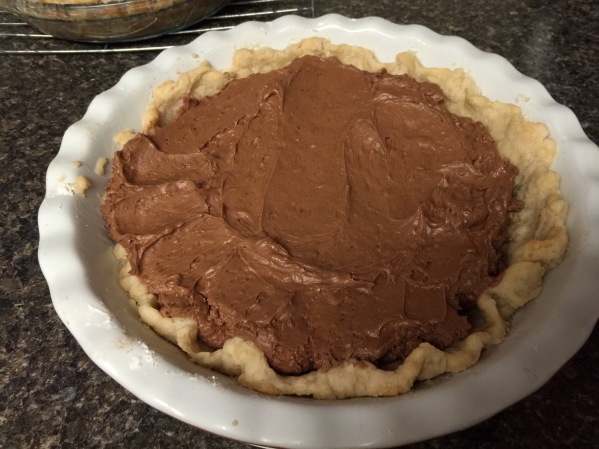
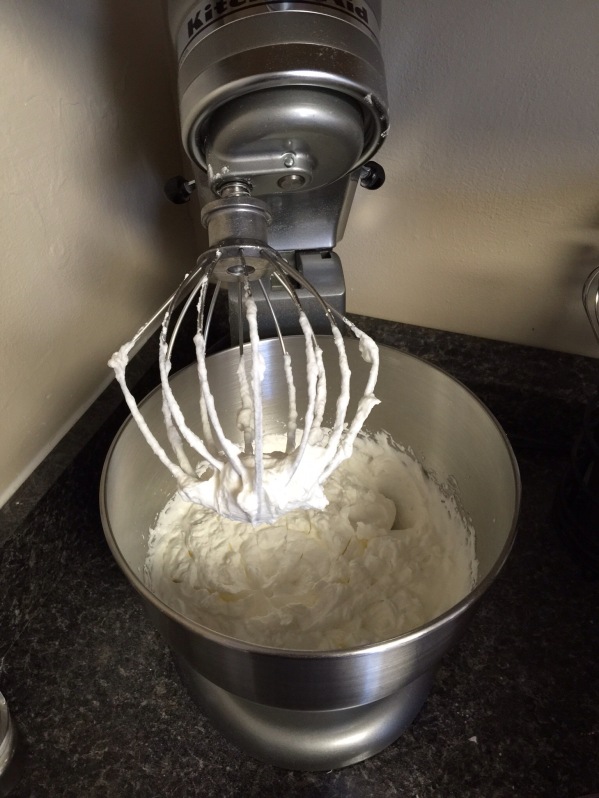
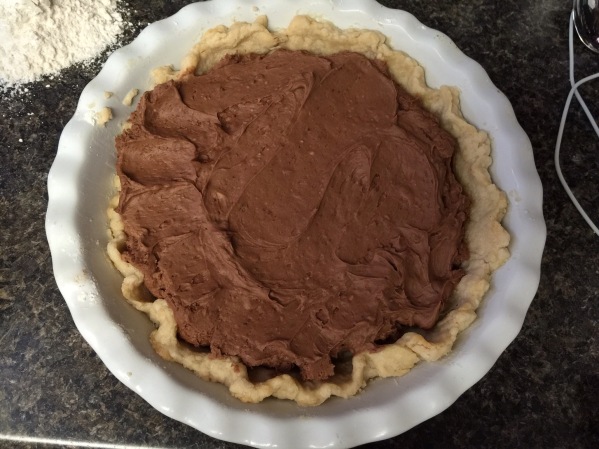
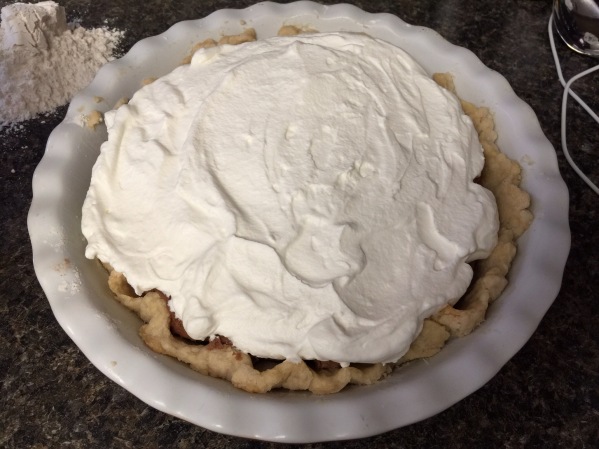
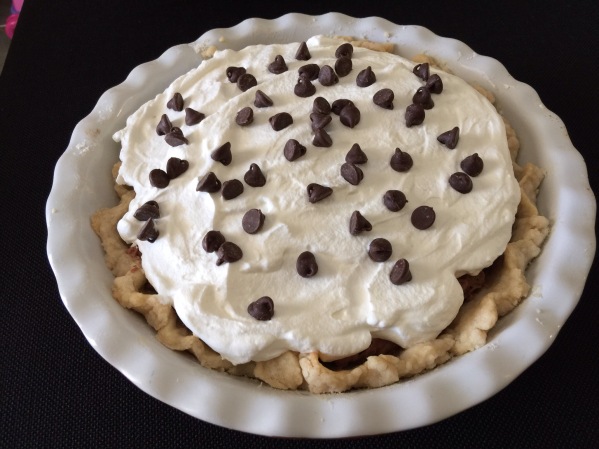
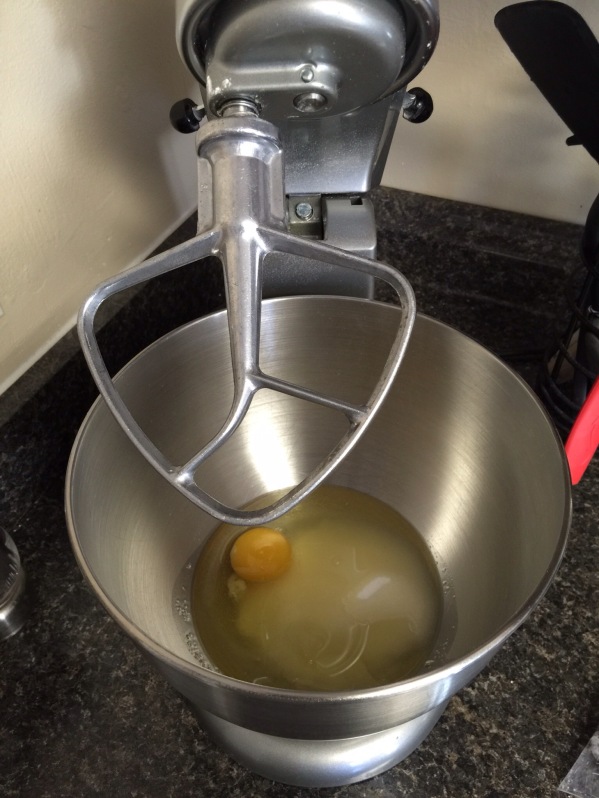
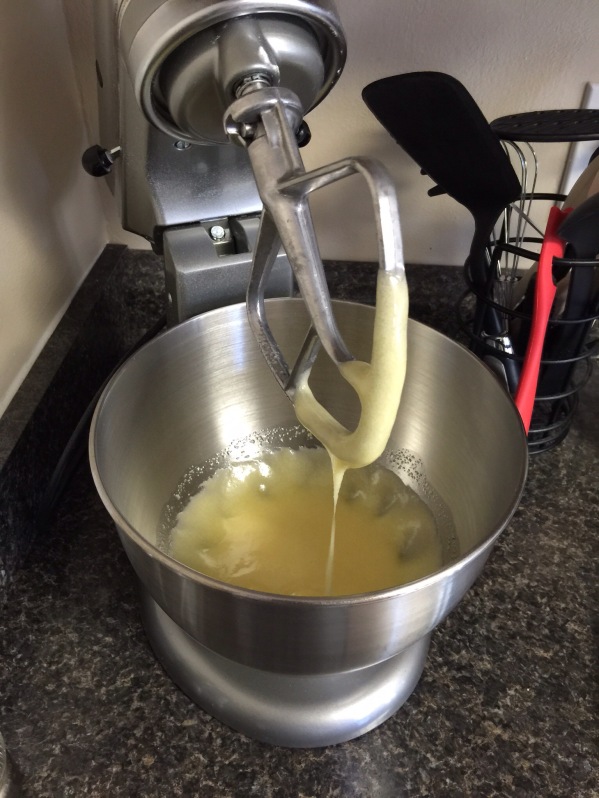
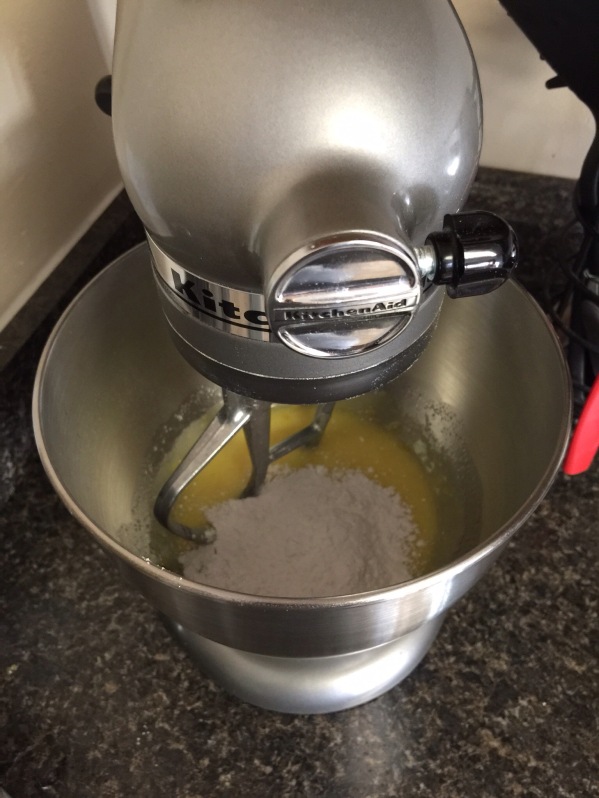
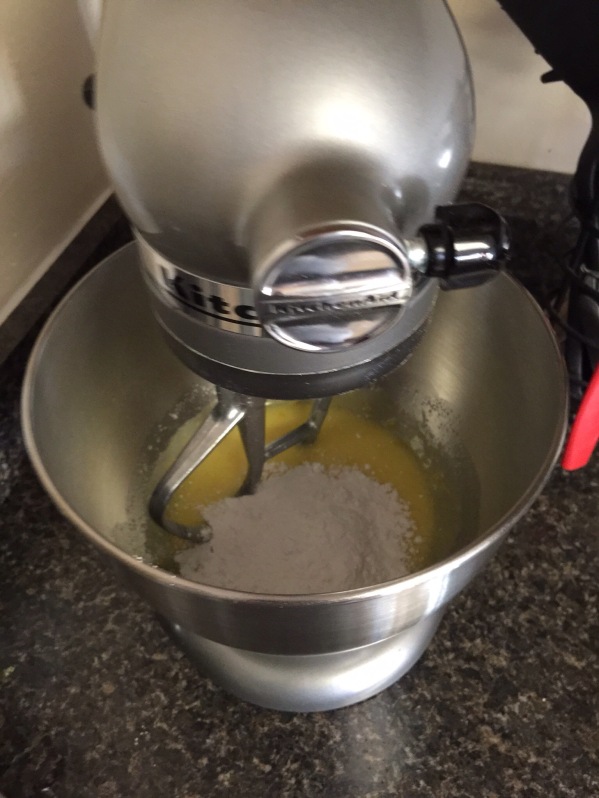
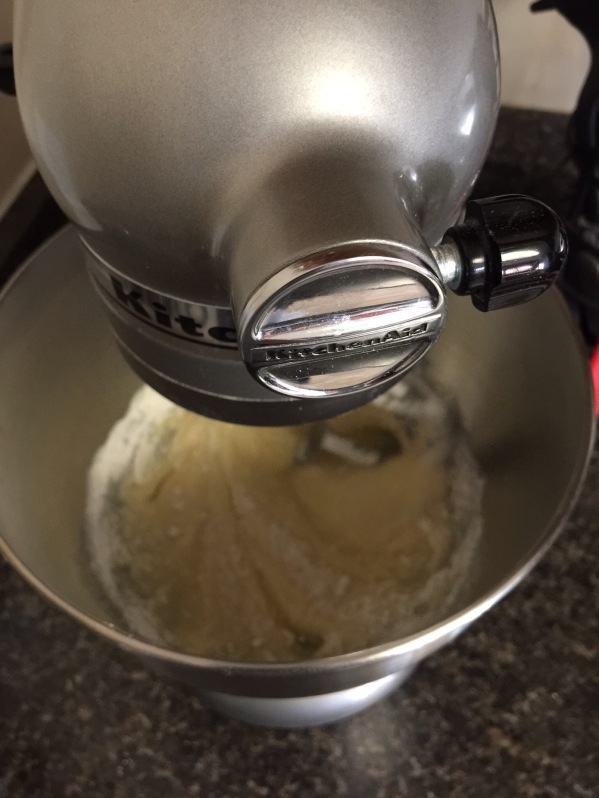
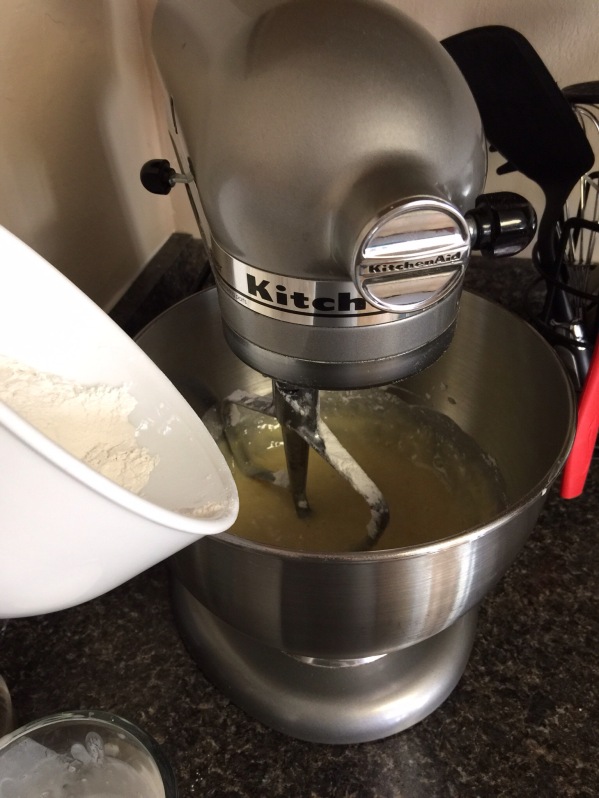
In the bowl of your stand mixer, cream butter and powdered sugar together until light and fluffy. Add melted chocolate and instant coffee (or espresso powder) to the bowl. Add in sour cream and vanilla and beat until light and fluffy. Pour the mixture into the cool pre-baked pie crust and chill for at least an hour. Top with the whipped cream and garnish with chelate shavings or sprinkle chocolate chips on the top.
Refrigerate until ready to serve.
/home/wpcom/public_html/wp-content/blogs.dir/a61/55634939/files/2014/12/img_8173.jpg

/home/wpcom/public_html/wp-content/blogs.dir/a61/55634939/files/2014/12/img_8174.jpg

/home/wpcom/public_html/wp-content/blogs.dir/a61/55634939/files/2014/12/img_8175.jpg

/home/wpcom/public_html/wp-content/blogs.dir/a61/55634939/files/2014/12/img_8177.jpg

/home/wpcom/public_html/wp-content/blogs.dir/a61/55634939/files/2014/12/img_8178.jpg

/home/wpcom/public_html/wp-content/blogs.dir/a61/55634939/files/2014/12/img_8179.jpg

/home/wpcom/public_html/wp-content/blogs.dir/a61/55634939/files/2014/12/img_8180.jpg

/home/wpcom/public_html/wp-content/blogs.dir/a61/55634939/files/2014/12/img_8181.jpg

/home/wpcom/public_html/wp-content/blogs.dir/a61/55634939/files/2014/12/img_8183.jpg

/home/wpcom/public_html/wp-content/blogs.dir/a61/55634939/files/2014/12/img_8200.jpg

/home/wpcom/public_html/wp-content/blogs.dir/a61/55634939/files/2014/12/img_8333.jpg

/home/wpcom/public_html/wp-content/blogs.dir/a61/55634939/files/2014/12/img_8334.jpg

/home/wpcom/public_html/wp-content/blogs.dir/a61/55634939/files/2014/12/img_8336.jpg

/home/wpcom/public_html/wp-content/blogs.dir/a61/55634939/files/2014/12/img_8338.jpg

/home/wpcom/public_html/wp-content/blogs.dir/a61/55634939/files/2014/12/img_8341.jpg

/home/wpcom/public_html/wp-content/blogs.dir/a61/55634939/files/2014/12/img_8339.jpg

/home/wpcom/public_html/wp-content/blogs.dir/a61/55634939/files/2014/12/img_8340.jpg

/home/wpcom/public_html/wp-content/blogs.dir/a61/55634939/files/2014/12/img_8353.jpg

/home/wpcom/public_html/wp-content/blogs.dir/a61/55634939/files/2014/12/img_8354.jpg

/home/wpcom/public_html/wp-content/blogs.dir/a61/55634939/files/2014/12/img_8501.jpg

Lemon Velvet Cake

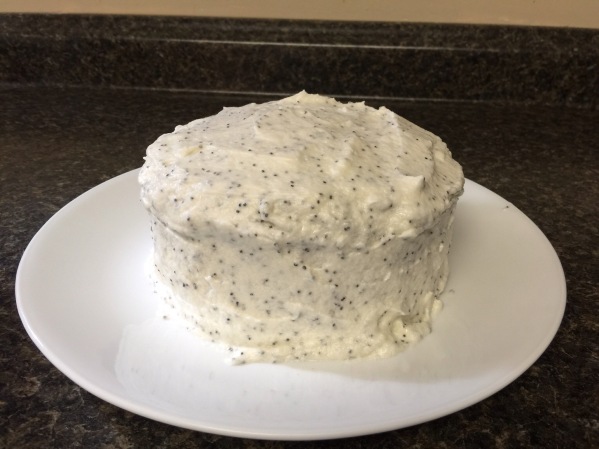
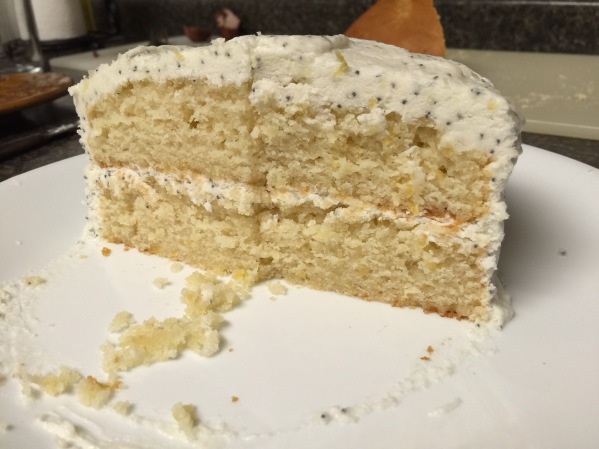
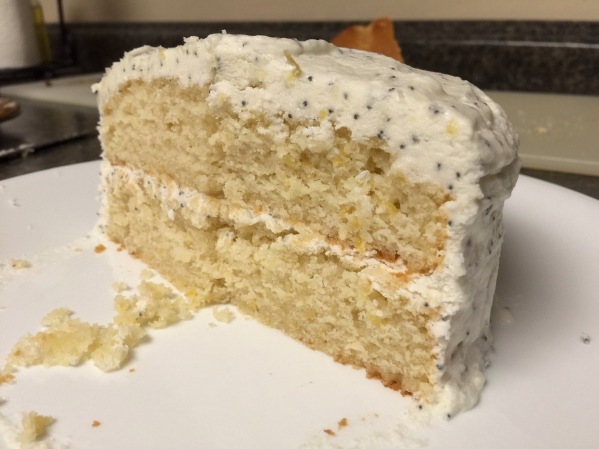
After all the Christmas treats and heavy food I wanted to bake a lighter dessert for our dinner date with some good friends on Saturday. This cake was absolutely delicious and fit the bill perfectly! I loved how strong the lemon taste was and the cake was super moist too. This would be the perfect cake for summer also. Absolutely a must try!

Ingredients:

Cake:

– 1 1/4 cup + 2 Tbsp. cake flour
– 1/4 tsp. baking soda
– 3/4 tsp. baking powder
– 1/2 tsp. salt
– 3/4 cup granulated sugar + 1 Tbsp. sugar
– 1/2 cup vegetable oil
– 1 large egg
– 3/4 cup buttermilk
– 2 Tbsp. lemon juice
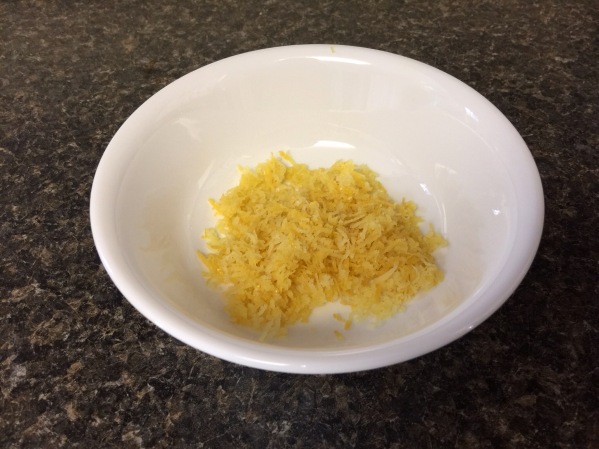
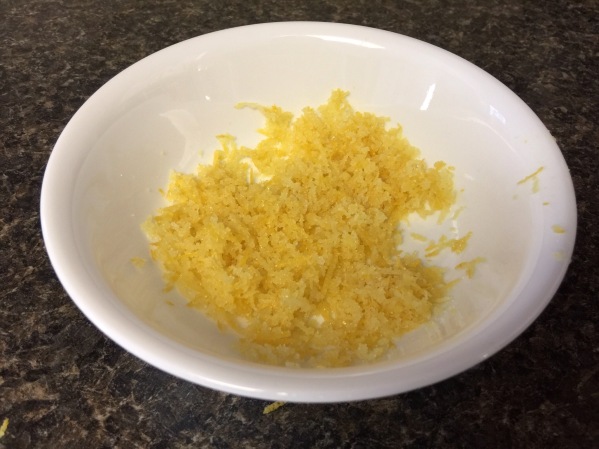
– zest of one medium lemon

Frosting:

– 2 cups powdered sugar
– 1 stick (1/2 cup) softened butter
– 1-2 Tbsp. lemon juice
– 1 Tbsp. poppy seeds

Directions:

Preheat your oven to 325F.
Spray two 6-inch cake pans with nonstick cooking spray.
In a small bowl, mix the lemon zest and 1 Tbsp. sugar together, and set aside.
In another small bowl combine the dry ingredients (flour, baking soda, baking powder, and salt). Set aside.
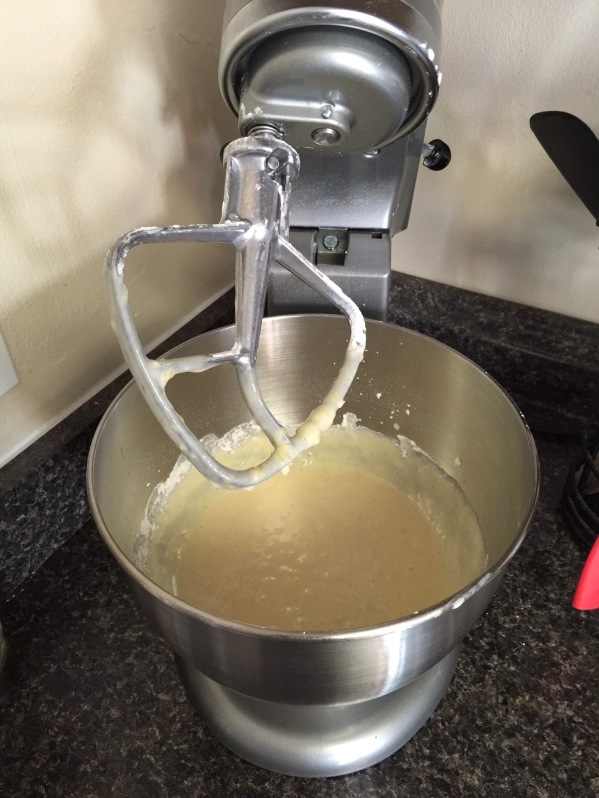
In the bowl of your stand mixer, add the vegetable oil, egg, and 3/4 cup sugar. Beat until,ugh the and fluffy, about 3 minutes.
Add the zest/sugar mixture to the bowl and combine.
In a glass combine the buttermilk, vanilla, and lemon juice, stir to combine.
Now, add buttermilk mixture and the dry ingredients to the bowl, add them alternately beginning and ending with the dry ingredient mixture. Beat after each addition, but don’t over mix.
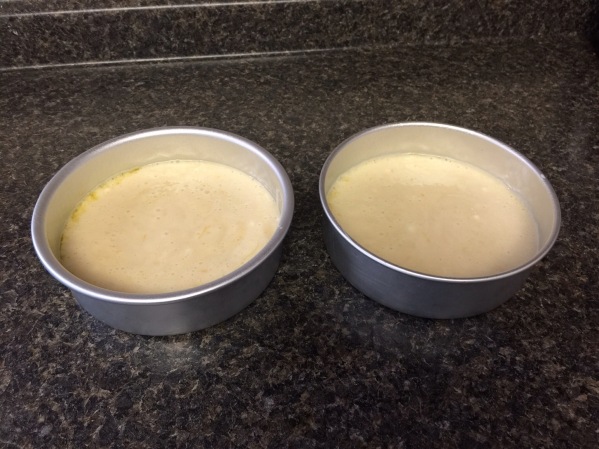
Divide batter among your two prepared cake pans.
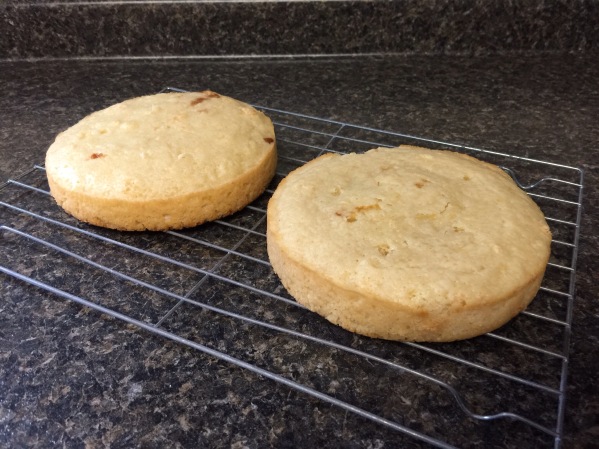
Bake for 35-40 minutes, or until the cakes pass the “toothpick test”. Cool your cakes in their pans for about 5-10 minutes and then turn them out and finish cooling on wire racks.
When the cakes have cooled completely, make the frosting.

Frosting:

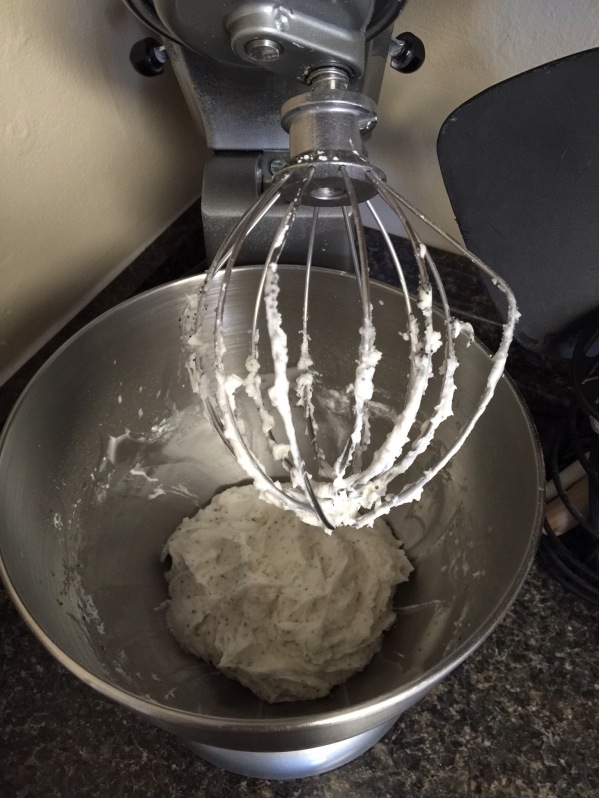
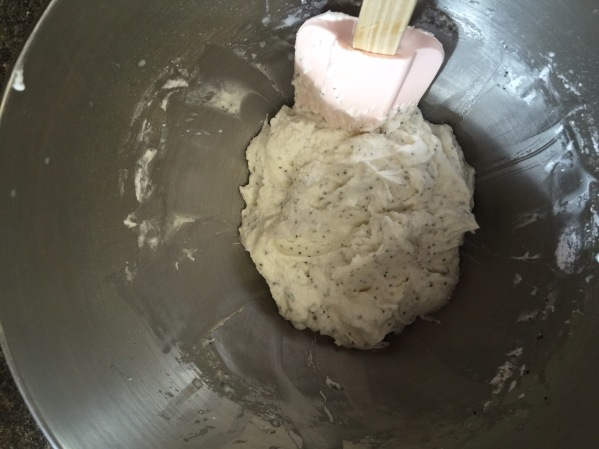
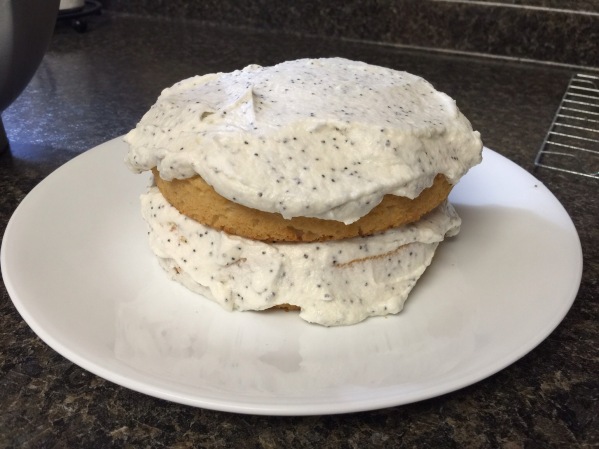
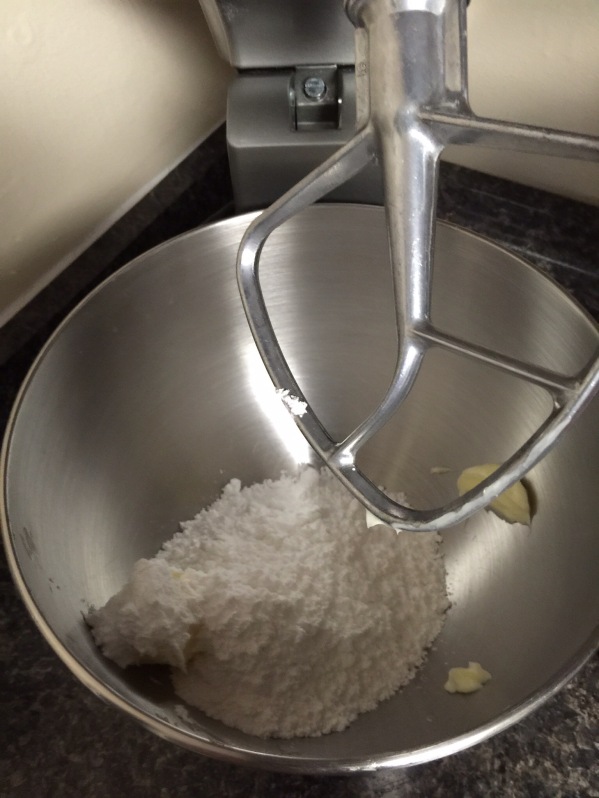
Beat the powdered sugar with the softened butter until light and fluffy. Add the lemon juice in, beat. Then mix in the poppy seeds and beat one more time. Taste and adjust as needed. If your frosting is too thick you can add some more lemon juice and/or a little bit of milk to thin. Or if it’s too thin, just add in some more powdered sugar. Fill and frost the cake layers. I put my cake in the refrigerator for a few hours to firm up the frosting before I covered it and then took it out a few minutes before serving to warm it up a little bit again.
Enjoy!

/home/wpcom/public_html/wp-content/blogs.dir/a61/55634939/files/2014/12/img_8503.jpg

/home/wpcom/public_html/wp-content/blogs.dir/a61/55634939/files/2014/12/img_8504.jpg

/home/wpcom/public_html/wp-content/blogs.dir/a61/55634939/files/2014/12/img_8506.jpg

/home/wpcom/public_html/wp-content/blogs.dir/a61/55634939/files/2014/12/img_8505.jpg

/home/wpcom/public_html/wp-content/blogs.dir/a61/55634939/files/2014/12/img_8508.jpg

/home/wpcom/public_html/wp-content/blogs.dir/a61/55634939/files/2014/12/img_8507.jpg

/home/wpcom/public_html/wp-content/blogs.dir/a61/55634939/files/2014/12/img_8510.jpg

/home/wpcom/public_html/wp-content/blogs.dir/a61/55634939/files/2014/12/img_8512.jpg

/home/wpcom/public_html/wp-content/blogs.dir/a61/55634939/files/2014/12/img_8511.jpg

/home/wpcom/public_html/wp-content/blogs.dir/a61/55634939/files/2014/12/img_8514.jpg

/home/wpcom/public_html/wp-content/blogs.dir/a61/55634939/files/2014/12/img_8515.jpg

/home/wpcom/public_html/wp-content/blogs.dir/a61/55634939/files/2014/12/img_8516.jpg

/home/wpcom/public_html/wp-content/blogs.dir/a61/55634939/files/2014/12/img_8519.jpg

/home/wpcom/public_html/wp-content/blogs.dir/a61/55634939/files/2014/12/img_8520.jpg

/home/wpcom/public_html/wp-content/blogs.dir/a61/55634939/files/2014/12/img_8518.jpg

/home/wpcom/public_html/wp-content/blogs.dir/a61/55634939/files/2014/12/img_8521.jpg

/home/wpcom/public_html/wp-content/blogs.dir/a61/55634939/files/2014/12/img_8522.jpg

/home/wpcom/public_html/wp-content/blogs.dir/a61/55634939/files/2014/12/img_8531.jpg

/home/wpcom/public_html/wp-content/blogs.dir/a61/55634939/files/2014/12/img_8532.jpg

Herb Roasted Red Potatoes

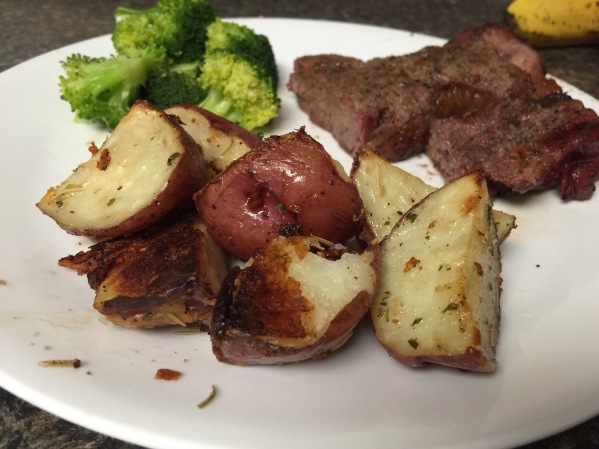
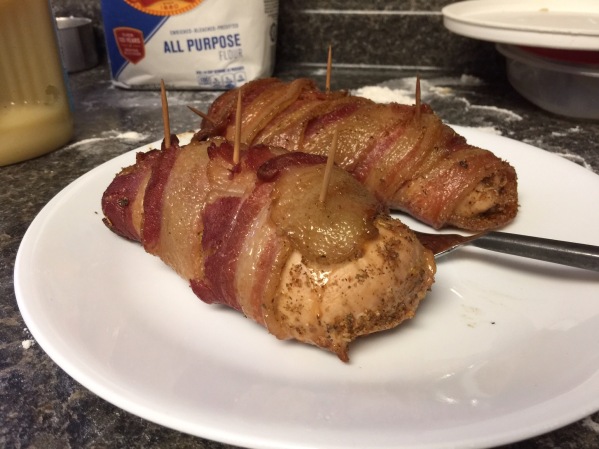
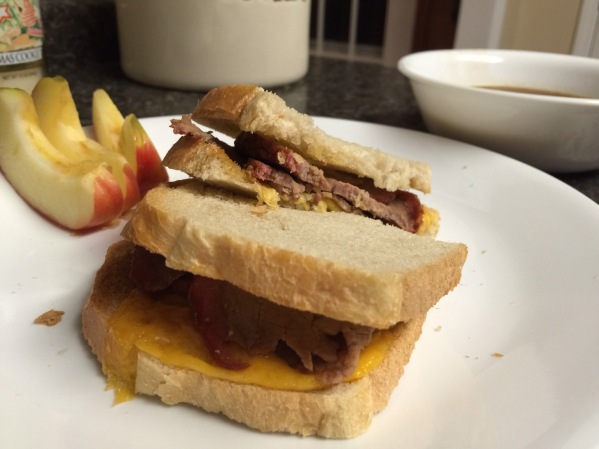
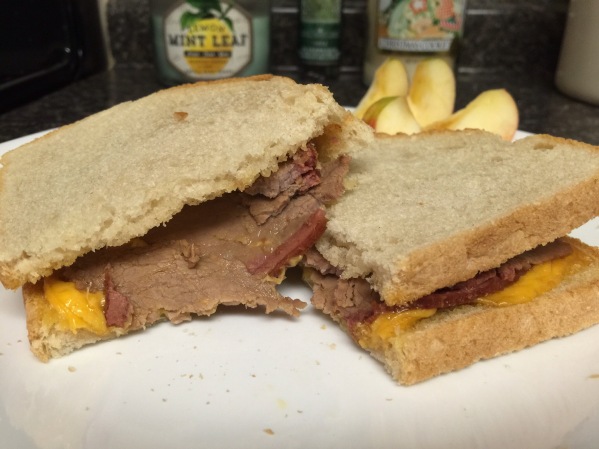
My husband just bought a pellet smoker and we’ve been eating a lot of super delicious various meats that he’s been trying. Last week he made bacon wrapped chicken breasts, a roast which we made french dips out of, and then last night he smoked us steaks for about an hour and then finished them off by grilling. Oh goodness were they good! It was probably the best steak that I have ever had in my life, just amazing! We had some red potatoes in the fridge so I decided to try my hand at roasting them, which I hadn’t previously tried. The potatoes came out great and were very flavorful and paired beautifully with the steaks!

Ingredients:
– 2 1/2 pounds red potatoes, washed and sliced in half or quarters if they are slightly larger
– 3 1/2 tbsp. Olive oil, divided
– 3/4 cup shredded parmesan cheese
– 1 tbsp. Garlic powder, you could also use 3 cloves minced garlic, I was just feeling lazy
– a generous sprinkling of Rosemary, thyme, and salt and pepper. I would say about 1-2 tsp. of each

Directions:
Drizzle about 1 tbsp olive oil over a baking sheet and spread evenly.
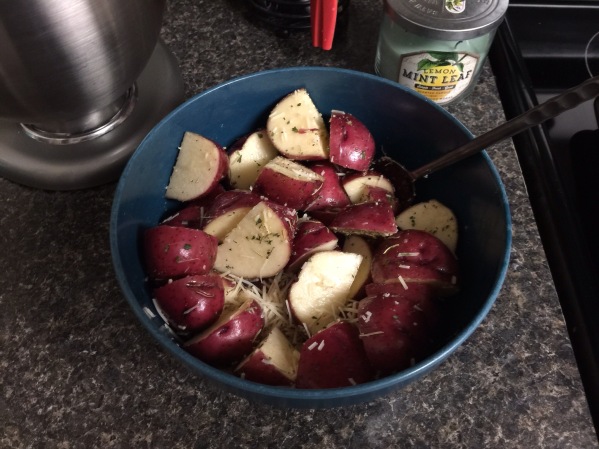
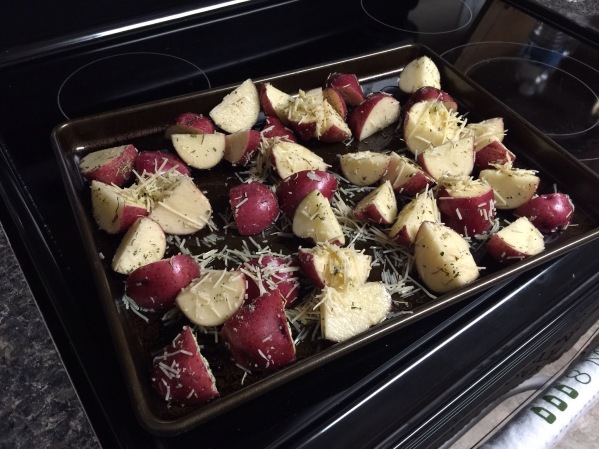
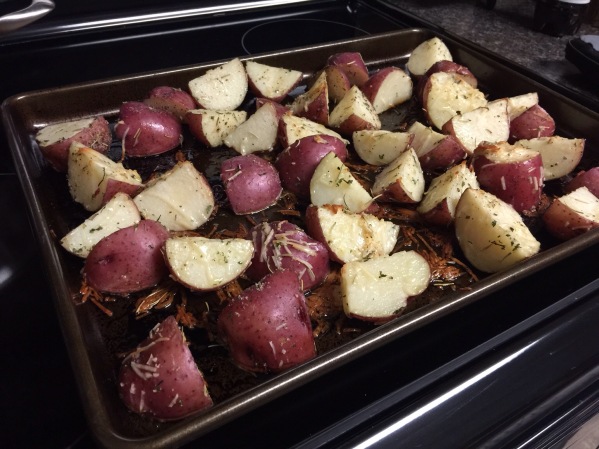
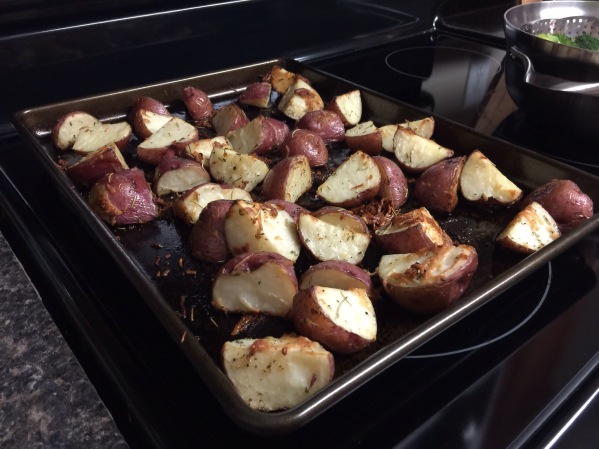
Place the cut potatoes in a medium sized bowl, and toss with remaining 2 1/2 tbsp. Olive oil. Then, add parmesan, garlic, thyme, rosemary, and salt and pepper to bowl. Toss to coat evenly. Pour potatoes onto your prepared baking sheet and scoop the cheese on top that has fallen off the potatoes. Bake for 25 minutes, then remove and use a spatula to rotate them around. Bake for an additional 20 minutes until the outsides are crisp, but the flesh is soft inside. Serve immediately.

/home/wpcom/public_html/wp-content/blogs.dir/a61/55634939/files/2014/12/img_8113.jpg

/home/wpcom/public_html/wp-content/blogs.dir/a61/55634939/files/2014/12/img_8114.jpg

/home/wpcom/public_html/wp-content/blogs.dir/a61/55634939/files/2014/12/img_8115.jpg

/home/wpcom/public_html/wp-content/blogs.dir/a61/55634939/files/2014/12/img_8116.jpg

/home/wpcom/public_html/wp-content/blogs.dir/a61/55634939/files/2014/12/img_8118.jpg

<img src="https://

/home/wpcom/public_html/wp-content/blogs.dir/a61/55634939/files/2014/12/img_8011.jpg

/home/wpcom/public_html/wp-content/blogs.dir/a61/55634939/files/2014/12/img_8039.jpg

/home/wpcom/public_html/wp-content/blogs.dir/a61/55634939/files/2014/12/img_8041.jpg

Here are some of the other meals we’ve made on Hubby’s new smoker 🙂

Raspberry Almond Thumbprint Shortbread Cookies

There’s a store back in my hometown, well actually a whole production warehouse that is located there called Harry and David. They specialize in fine chocolates, great produce, treats, gourmet popcorn, etc. It’s just the best store and I always go in there and stock up on goodies. Well, when I was little my mom would buy these cookies from H&D called Galletes. They were absolutely delicious and had different fruit fillings in the middle. Once I stumbled upon this recipe I wondered if it would be similar, and I’m SO excited to report that it actually was! The layout of the cookies slightly different because there isn’t two layers of cookie, but the taste is there! 🙂 I didn’t use the glaze this time, mainly because these were the last cookies on my list and I was just a bit out baked from the day, but I’ll be sure to drizzle them next time.

Ingredients:
– 1 cup (2 sticks) butter, softened
– 2/3 cup granulated sugar
– 1 tsp. vanilla extract
– 1/2 tsp. almond extract
– 2 cups all-purpose flour
– 1/2 cup raspberry jam

Glaze:
– 1 cup powdered sugar
– 1 tbsp. Milk
– 1 tsp. vanilla or almond extract (optional)

Directions:
In the bowl of your stand mixer, beat the butter for about a minute on high. Next, add the sugar, vanilla, and almond extracts, beat on medium speed. Then gradually add the flour and beat until combined. Transfer dough to another bowl and press down to compact it. Cover the dough and chill for at least 4 hours.

Preheat oven to 350F. Line two baking pans with the silpat baking mats or parchment paper. Roll the dough into about 1-inch balls, and place on the baking sheets. Press your thumb into the cookie to make a well in each one, big enough to hold the jam. Fill each cookie with about 1/2 tsp. of jam, or however much the cookie will hold. Try and work fairly quickly because you don’t want your dough to get very warm.
Bake the cookies for about 14 minutes, or until the bottoms and edges are slightly browned. Watch them closely so they don’t overtake and will stay nice and soft.
Remove the cookies from the baking trays after about 5 minutes after taking them out of the oven. Transfer to a cooling rack and cool for about 30 minutes before glazing.

The Glaze:
Combine the powdered sugar, milk, and extract(s) together, stir until smooth. You can add more milk to thin it out or more sugar to thicken it, depending on your preference. Drizzle over cooled cookies.

/home/wpcom/public_html/wp-content/blogs.dir/a61/55634939/files/2014/12/img_8015.jpg

/home/wpcom/public_html/wp-content/blogs.dir/a61/55634939/files/2014/12/img_8016.jpg

I apologize for not getting a picture of the raspberry filled cookies by themselves. My friend and I decided to split the recipe and we placed cherries in one half and the jam in the other. Both were very good, but the raspberry filled ones just took me back to my childhood 🙂

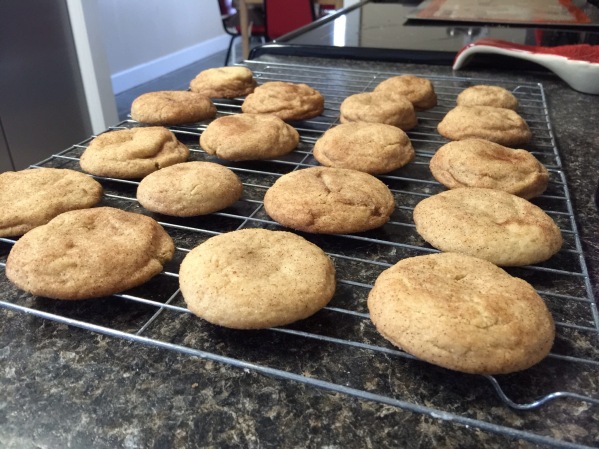
Snickerdoodles

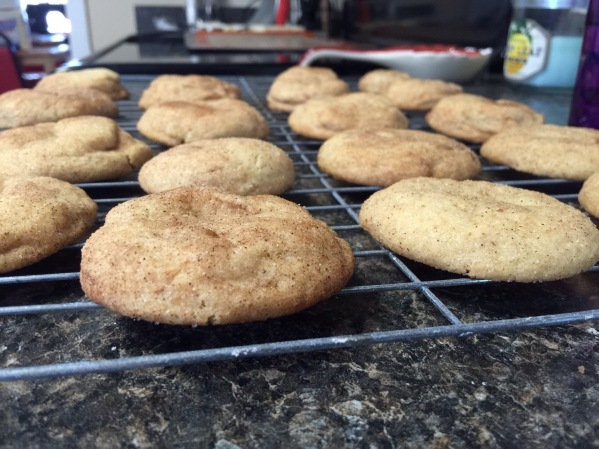
This was my first time making Snickerdoodle cookies and I was pretty happy with how they turned out 🙂 I may try another recipe next time, but this one was really good and they were nice and soft and thick! Mmm!

Ingredients:
– 1 cup (2 sticks) butter, softened
– 1 cup granulated sugar
– 2/3 cup brown sugar
– 2 eggs
– 1 tsp. vanilla
– 3 cups all purpose flour
– 1/2 tsp. salt
– 1 tsp. baking soda
– 1/2 tsp. cream of tartar

Topping:
– 1/2 cup granulated sugar
– 5 tsp. ground cinnamon

Directions:
Preheat oven to 300F.
In the bowl of your stand mixer, cream softened butter and sugars together. Add eggs and vanilla. Beat until smooth and combined.
In a separate bowl, combine the flour, salt, baking soda, and cream of tartar. Stir to combine.
Add dry ingredients slowly to the bowl of wet ingredients and mix well. Chill dough for 30-60 minutes in the refrigerator.
Combine the cinnamon and sugar topping in a small bowl and set aside.
Roll dough into balls, about an inch thick and roll generously in the cinnamon/sugar mixture. Place coated balls on an ungreased baking sheet lined with the silpat baking mats.
Bake for 12-14 minutes in your preheated oven. Check them after about 12 minutes for slight brownness on the bottom. You don’t want to overtake these cookies, so they stay nice and soft.

/home/wpcom/public_html/wp-content/blogs.dir/a61/55634939/files/2014/12/img_8005.jpg

/home/wpcom/public_html/wp-content/blogs.dir/a61/55634939/files/2014/12/img_8004.jpg

Reese’s Peanut Butter Cup Fudge

Merry Christmas everyone! I hope you all have had a wonderful holiday season so far this year. We have been absolutely slammed the last couple months, and today marks 29 weeks in my pregnancy so the time is really flying by and March will be here before we know it! 🙂
One of my good friends, Stephanie came over the other day and we had a massive baking day! It was super fun and we got a lot of treats made! We made Reese’s fudge, Sugar cookies (recipe is already on here), raspberry and cherry almond shortbread cookies, and Snickerdoodles! I’ll get the recipes posted on here for you guys.
I hope everyone has a wonderful Christmas! Blessings!

Here’s the fudge recipe, which is basically a huge Reese’s ball! Yum!

Ingredients:
– 11 oz. bag mini Reese’s peanut butter cups, unwrapped
– 4 regular Reese’s peanut butter cups
– 14 oz. sweetened condensed milk
– 3 cups chocolate chips, I used semi-sweet

Directions:

Line an 8×8 pan with tin foil, and spray lightly with nonstick cooking spray.
Chop the mini Reese’s into quarters and the regular size cups into eighths.
Place the mini chopped Reese’s in the bottom of your pan and set aside the regular Reese’s for later.
Pour the chocolate chips and condensed milk into a large glass bowl. Microwave in intervals of 30 seconds, stirring well after each time.
Once the chips are melted, pour the mixture over the top of the mini Reese’s and spread evenly.
Sprinkle the reserved regular Reese’s over the top of the chocolate mixture and press them gently in.
Refrigerate until set and then cut into squares.

/home/wpcom/public_html/wp-content/blogs.dir/a61/55634939/files/2014/12/img_8017.jpg

I apologize for not having more pictures, I didn’t document my steps but just snapped a few along the way. Here is a picture of everything we made that day, and if you look closely you can see the circular pan of fudge 🙂